Building a React Frontend Application with Integrated API Using Deno
In this guide, we'll explore how to create a frontend application with an integrated API using the power of Deno, combined with React and Vite.
Step 1: Creating a Vite React Application
Start by creating a new Vite React application:
deno run --allow-env --allow-read --allow-write npm:create-vite-extra
Step 2: Then simple setup the API directory
mkdir api && touch api/data.json && touch api/main.ts
Step 3: Setting Up the API
In the api directory, populate data.json with your data. Then, write your API logic in main.ts:
import { Application, Router } from 'https://deno.land/x/oak@v11.1.0/mod.ts';
import { oakCors } from 'https://deno.land/x/cors@v1.2.2/mod.ts';
import data from './data.json' assert { type: 'json' };

const router = new Router();

router
  .get('/', (context) => {
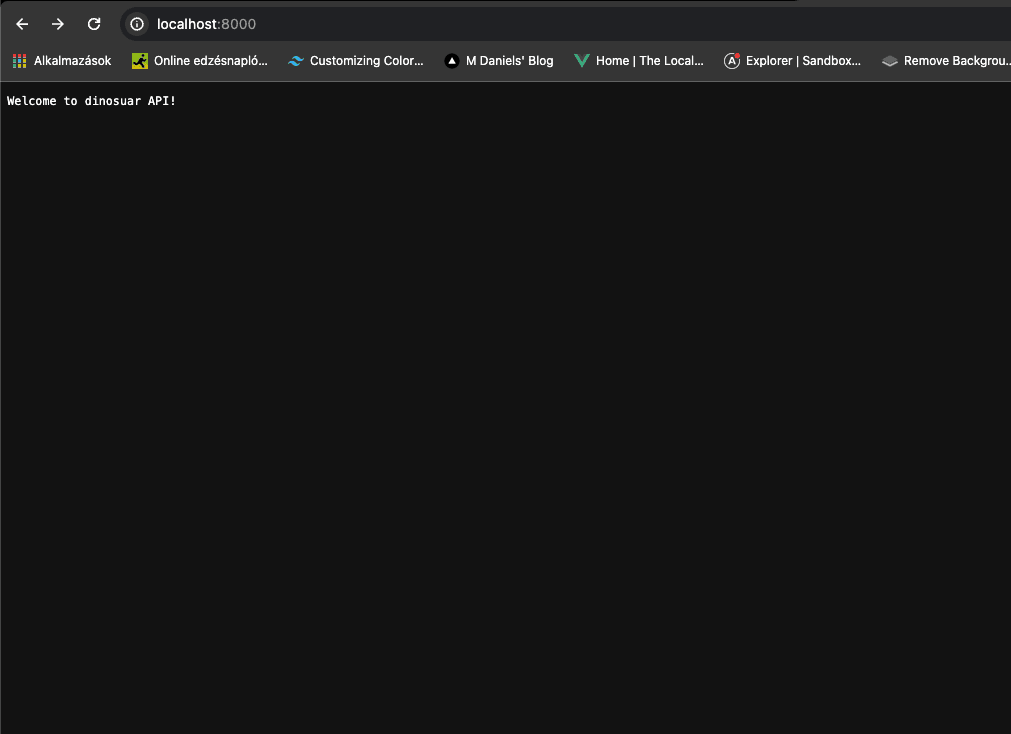
    context.response.body = 'Welcome to dinosuar API!';
  })
  .get('/api', (context) => {
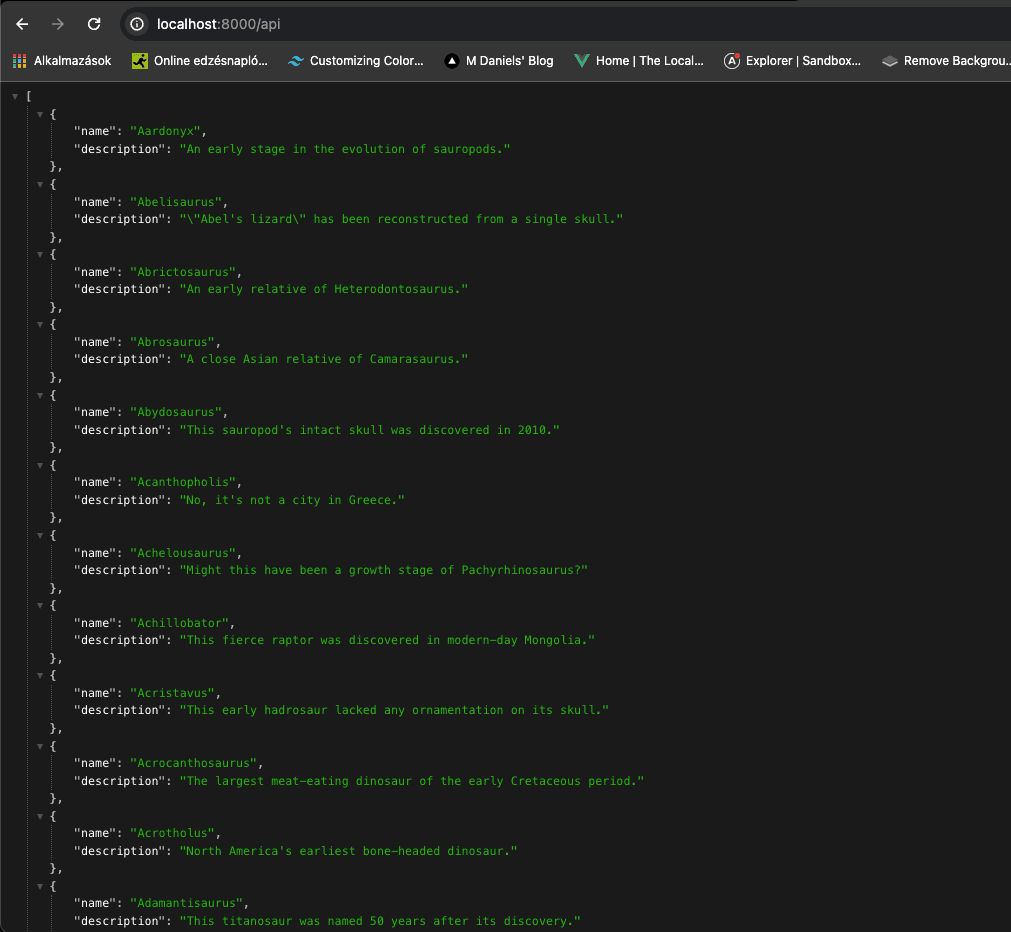
    context.response.body = data;
  })
  .get('/api/:dinosaur', (context) => {
    if (context?.params?.dinosaur) {
      const found = data.find(
        (item) =>
          item.name.toLowerCase() === context.params.dinosaur.toLowerCase()
      );
      if (found) {
        context.response.body = found;
      } else {
        context.response.status = 404;
        context.response.body = 'Dinosaur not found';
      }
    }
  });

const app = new Application();
app.use(oakCors());
app.use(router.routes());
app.use(router.allowedMethods());

await app.listen({ port: 8000 });
Step 4: Running the server
Add the following line to your terminal and run:
deno run --allow-env --allow-net api/main.ts
Exploring the API
With the server running, you can now access your API endpoints. Here's a look at the API in action:


This setup demonstrates the synergy between Deno, React, and Vite, creating a seamless development experience for building modern web applications.